|
|
Post by terrance on Aug 13, 2018 16:15:33 GMT
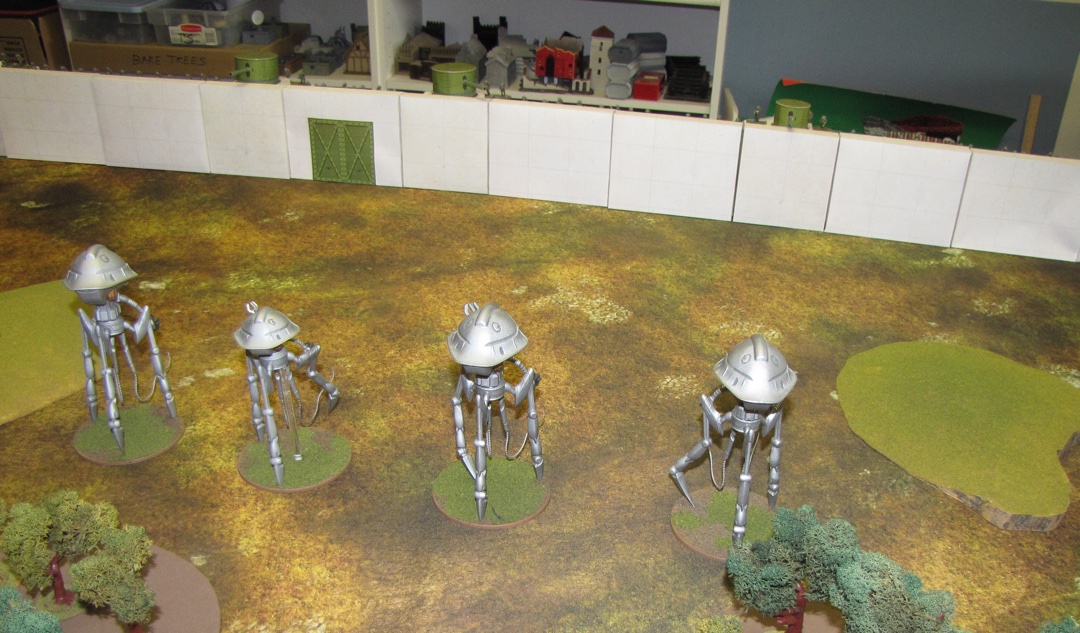
Ambush Turn 3 Martians win initiative. Martians start pulling back from the wall to confront the Texans, who arrived on table last turn. 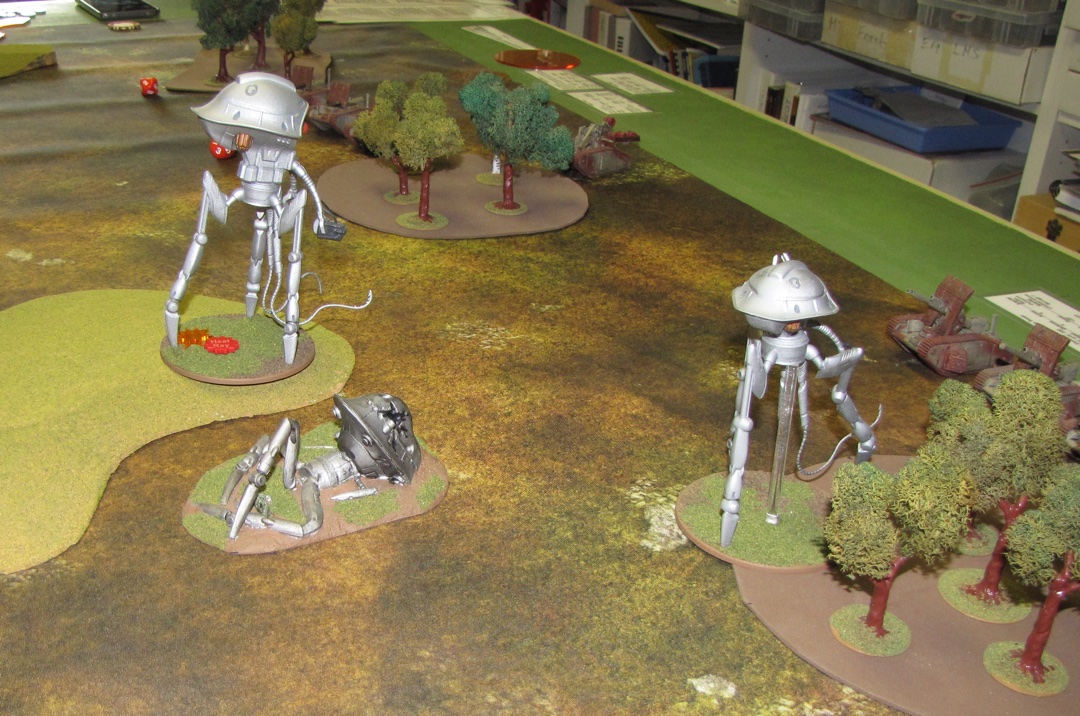 Two tripods continue to attack the wall and another point of damage is put on the wall. The humans try to rush reinforcements to the wall. But it is a long trip from the other flank. 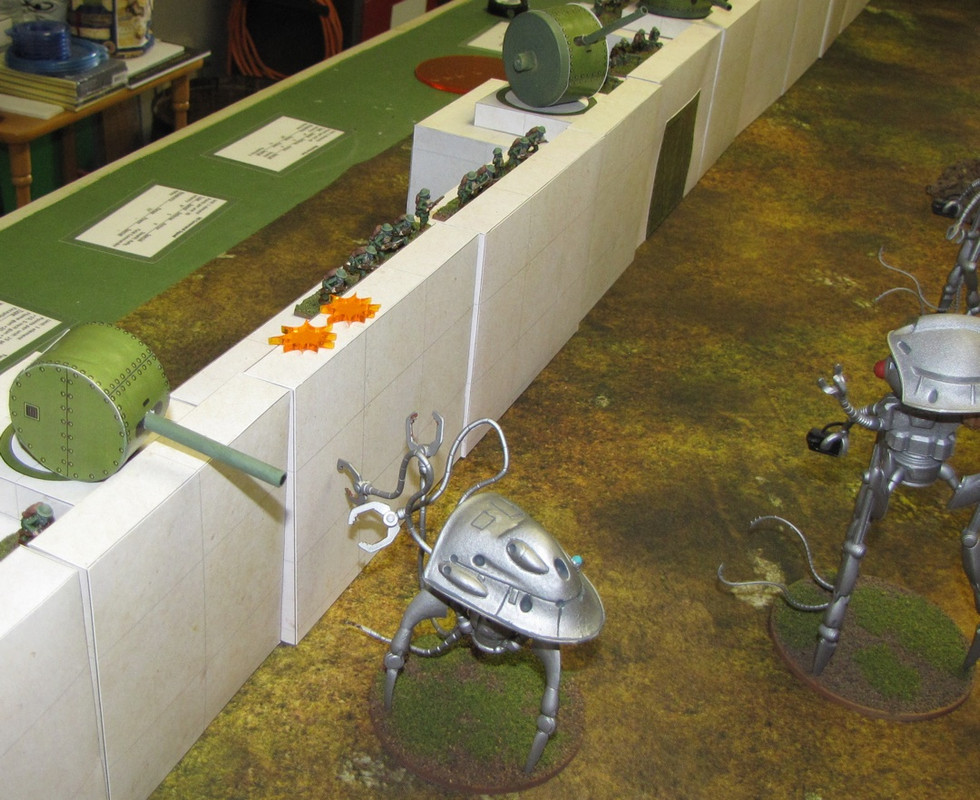 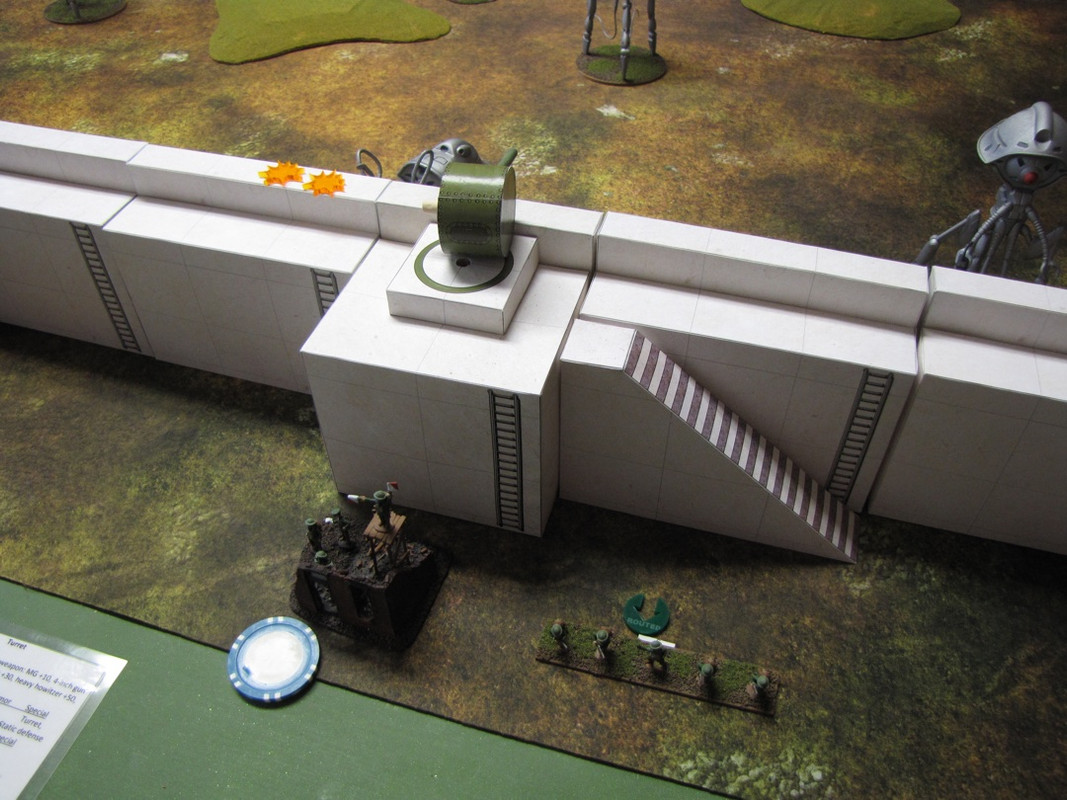 |
|
|
|
Post by terrance on Aug 13, 2018 16:11:42 GMT
Ambush Turn 2 Martians win initiative, in spite of the bonus for taking out the tripod. The reaper begins to attack the wall and causes one point of damage. The walls are nearly swept clean of defenders on the right flank. 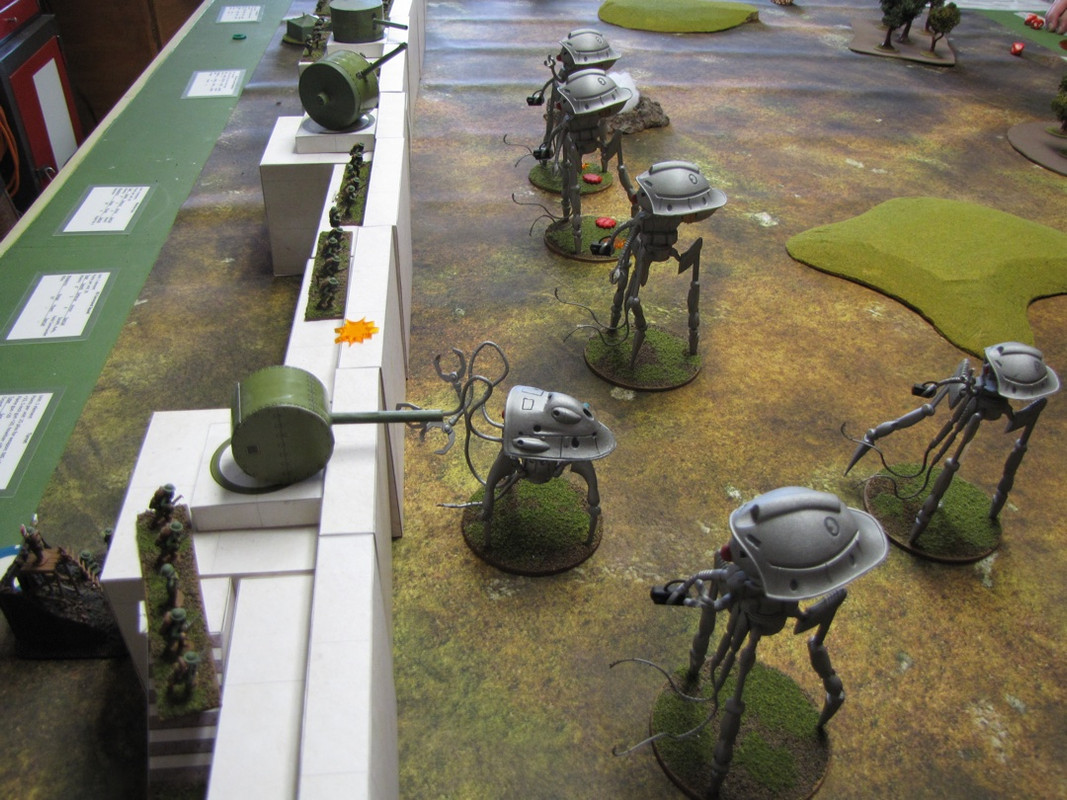 |
|
|
|
Post by terrance on Aug 13, 2018 16:08:38 GMT
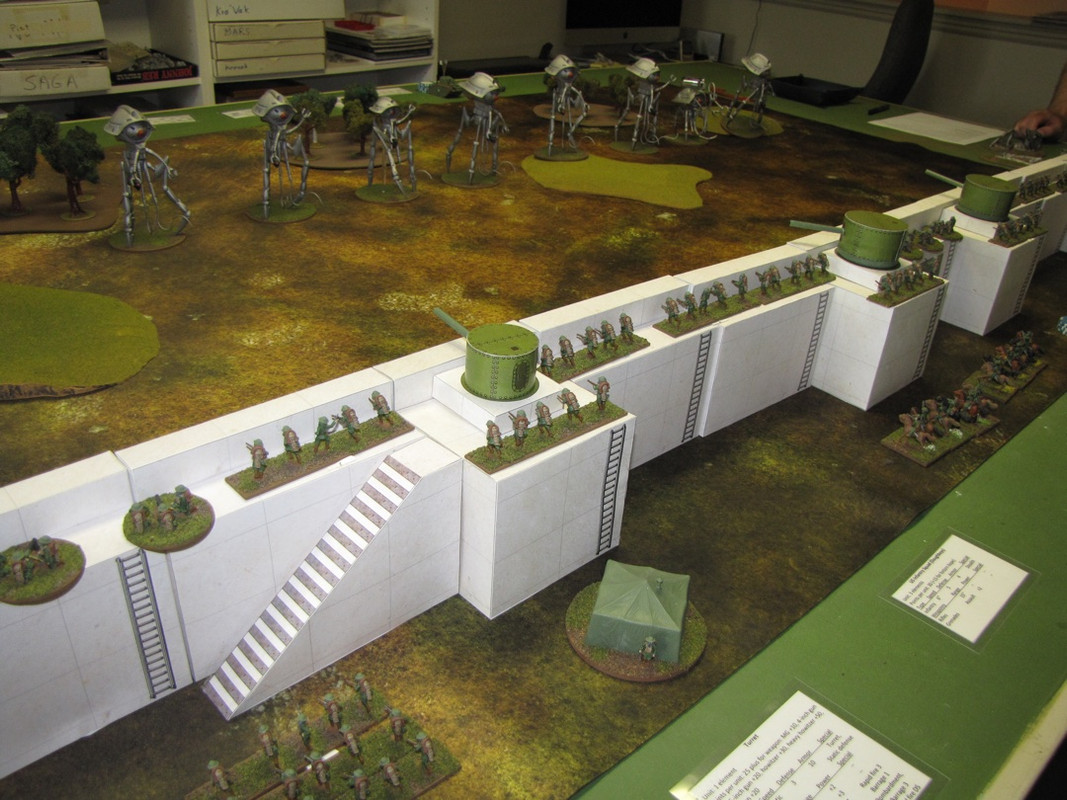
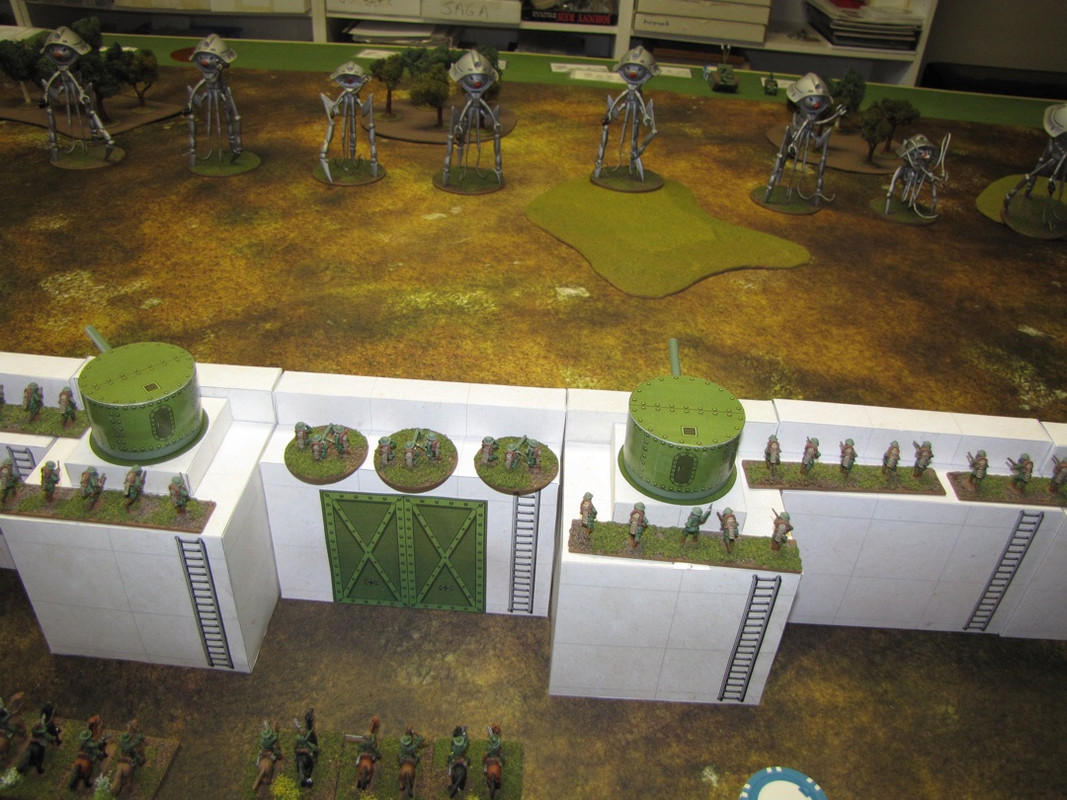
Ambush Turn 1 Martians were given the initiative by the scenario. They moved up and destroyed two gun turrets and started picking infantry off the wall. This was starting to look like a bad day for the humans. It was unbelievable how many tens the Martian player rolled (To hit infantry on the wall needs a 9 or 10.)  The humans charged two tripods with the Cavalry. The first attack resulted in an explosion that destroyed both cavalry units. The remaining guns on the wall damaged two tripods and in both cases damaged the heat rays.  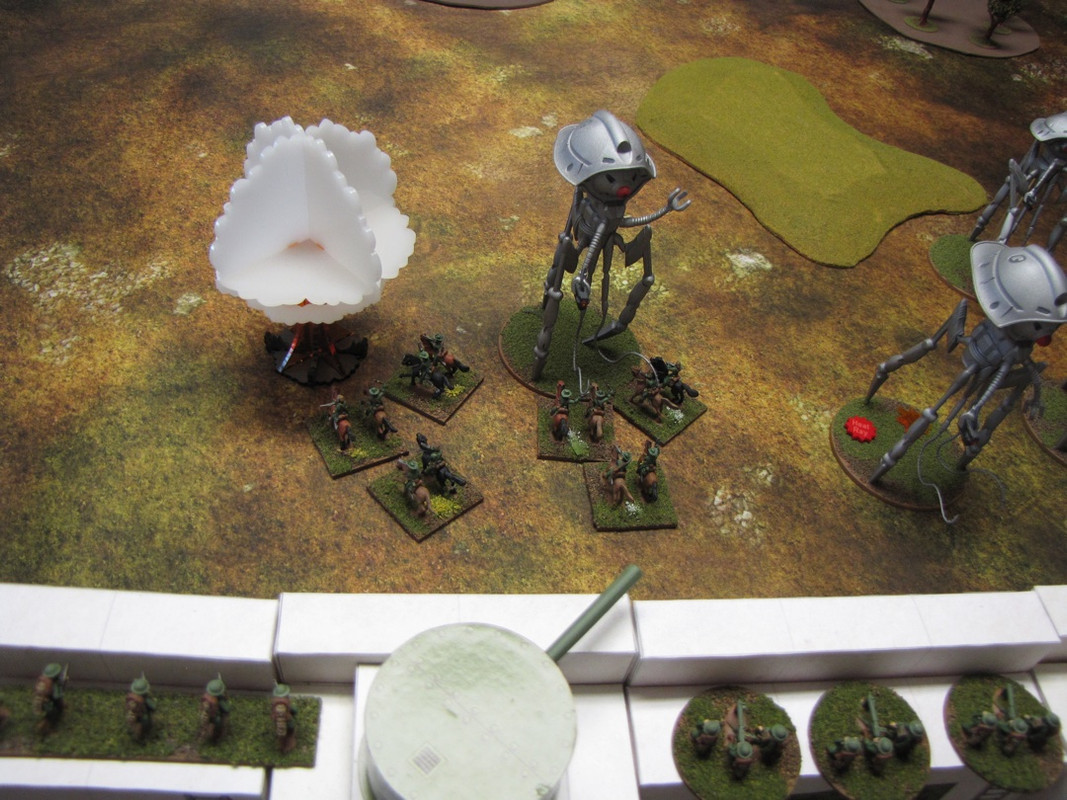 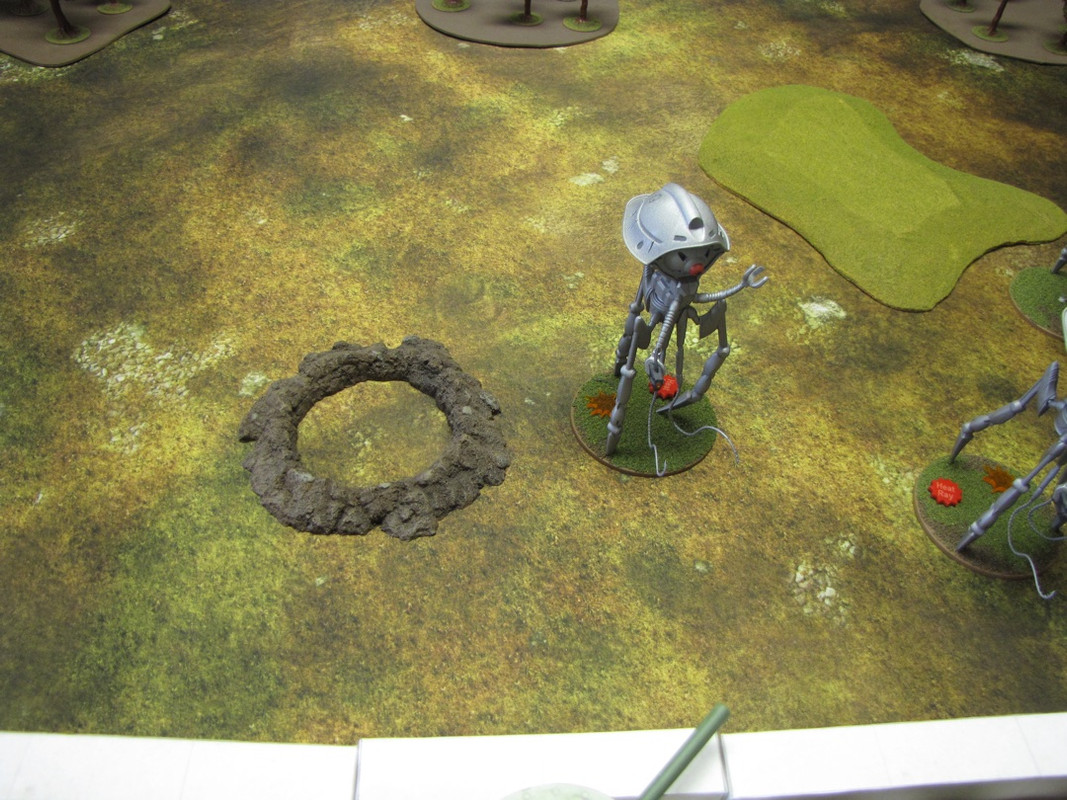 |
|
|
|
Post by terrance on Aug 13, 2018 15:57:20 GMT
|
|
|
|
Post by terrance on Aug 13, 2018 15:54:55 GMT
Texans Battle 2
Ambush
The Martians have been advancing on a fortified city to test the defenses. But they have not detected that they are being tailed by Texas forces. The Martians reach the city walls and begin an attack but are then surprised by the Texan’s ambush.
Set-Up: City walls are set up 6 inches from the human side of the table. The city walls have 4 gun turrets. Up to 3 hills may be set up anywhere on the table. Up to 3 forest areas may be placed within 18 inches of the Martian side of the table.
Humans set up the city defense forces first. Martians then set up within 18 inches of the Martian side of the table. Texans enter the table on turn 2.
Duration: The game lasts 6 turns unless one side has broken before that. If no-one is declared a winner by the end of the 6the turn a die roll determines if there is a 7th and final turn.
Victory:
Martians break the ambushing force: Minor victory.
Martians break the ambushing force and the city defenders: Major victory.
Humans break the Martians: Major victory.
Neither side is broken at game end: Tie.
Human city defense:
4-4 inch gun turrets on the wall @ 40 = 160
3 Machine gun units @ 40 = 120
2 Infantry command units @ 30 = 60
6 Doughboys @30 = 180
2 Cavalry with grenades @35 = 70
Total = 590 points; Break 9; CMD 3
Texan ambushers:
1 Texas Tea Tosser @ 200 = 200
1 Texan SP anti-tripod gun unit @ 270 = 270
1 Texan MkII Steam Tank @ 180 = 180
1 MkIIc command tank @ 85 = 85
2 Texan Armored Cars @ 45 = 135
Total = 870 points; Break 3; CMD 5
Human total = 1460 points
Martian attackers:
6 Assault tripods w heat rays @ 200 = 1200
1 Reaper tripod @ 150 = 150
1 Scout tripod with heat rays 2 150 = 150
Total = 1500; Break 4; CMD 8
|
|
|
|
Post by terrance on Jul 23, 2018 15:09:58 GMT
Just so everyone knows: I copy the details of the forces, set-up, and 'historical' information from the start of the game in my infamous note books. Just in case I ever have need of such scenarios at a store event or personnel fun. I'm several battles behind atm due to my cat Candle wanting to play Civ V - ty all for the great games  Glad to hear others are getting use out of these scenarios. If anyone plays them and has feedback I’d love to hear it. |
|
|
|
Post by terrance on Jul 23, 2018 15:08:32 GMT
Thanks for posting. What is your opinion on the aero plane participation. I thought it was an interesting option. They were able to finish off a badly damaged tripod. So they did some good. I’ll arm them with bombs next time and see how that works. |
|
|
|
Post by terrance on Jul 21, 2018 19:42:26 GMT
We had a lot of fun with this scenario. The stupidity of the panicking civilians was great. We felt like we could hear the doughboys and cavalry troopers screaming at them "No you idiot, run that way!"  |
|
|
|
Post by terrance on Jul 21, 2018 19:30:55 GMT
Evacuation turn 4 Martian initiative The martians start using heat rays on civilians that look like they might get away. Human turn Cavalry assault a gatherer; no effect. 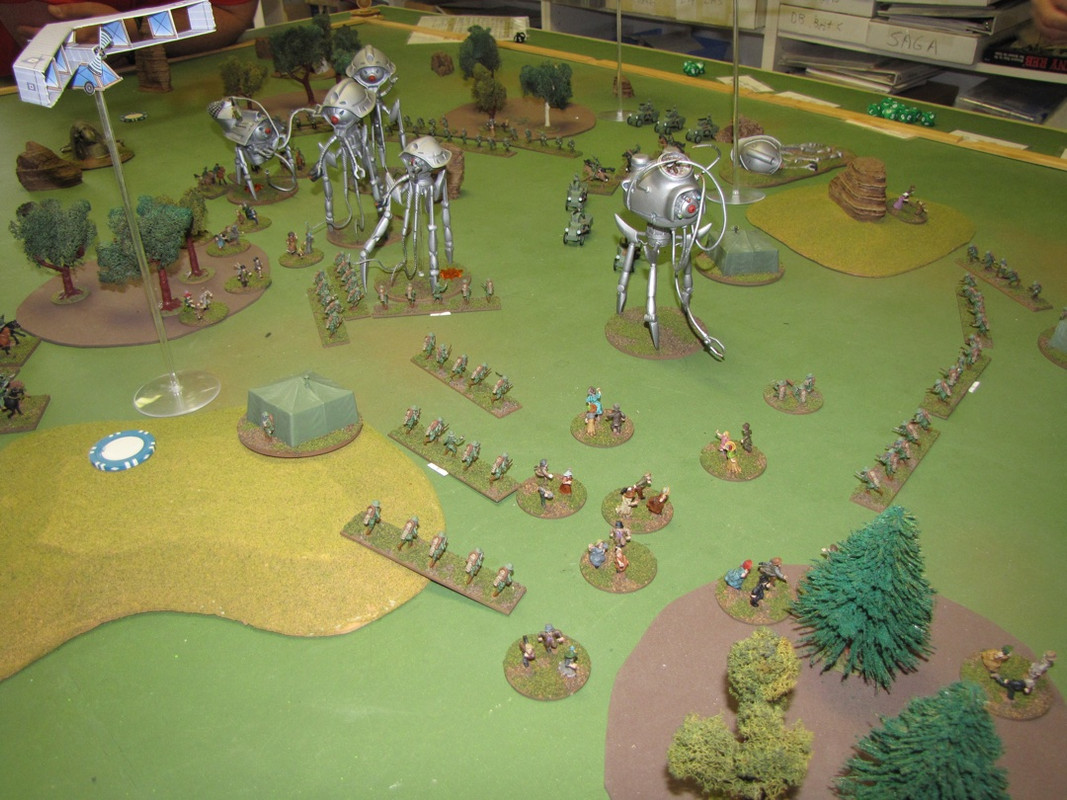 Infantry assault a scout and inflict 2 hits. The damage roll causes the tripod to collapse and the Martian army is broken. 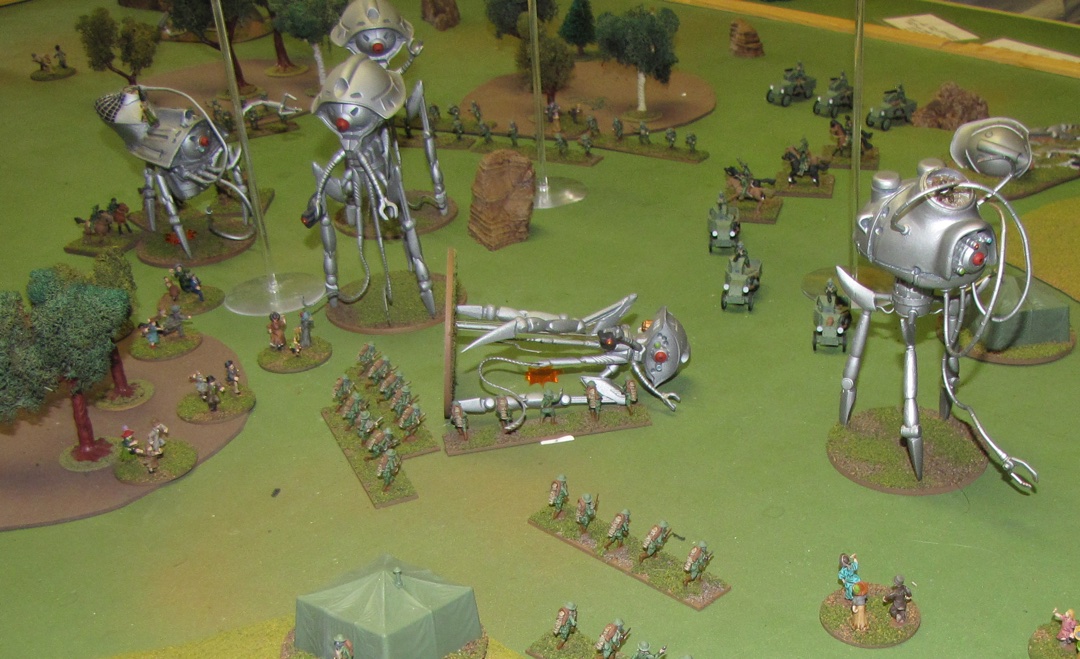 The scoring came to Martians 13, Humans 3. A big hit against the humans was the civilians had clustered in groups and the tripods managed to be within 12 inches of most of them. Per the scenario for every 2 civilians more than 12 inches from a tripod the humans get on point. As a result the humans probably lost 9 possible points. So Martians break but win the points so the game is a draw. |
|
|
|
Post by terrance on Jul 21, 2018 19:28:53 GMT
Evacuation turn 3 Human initiative The humans throw nearly everything they could into assaults. The harvester, both gatherers, a scout and an assault tripod are assaulted mostly by cavalry.    The infantry assault on one of the gatherers succeeds in bringing it down and 2 captured infantry stands escape. It was ruled that they had lost their weapons when captured so they dispersed rather than join another squad. Here is the attack.  And here is the result.  A scout was damaged and rolled d10 armor lost. The aircraft finished it off. 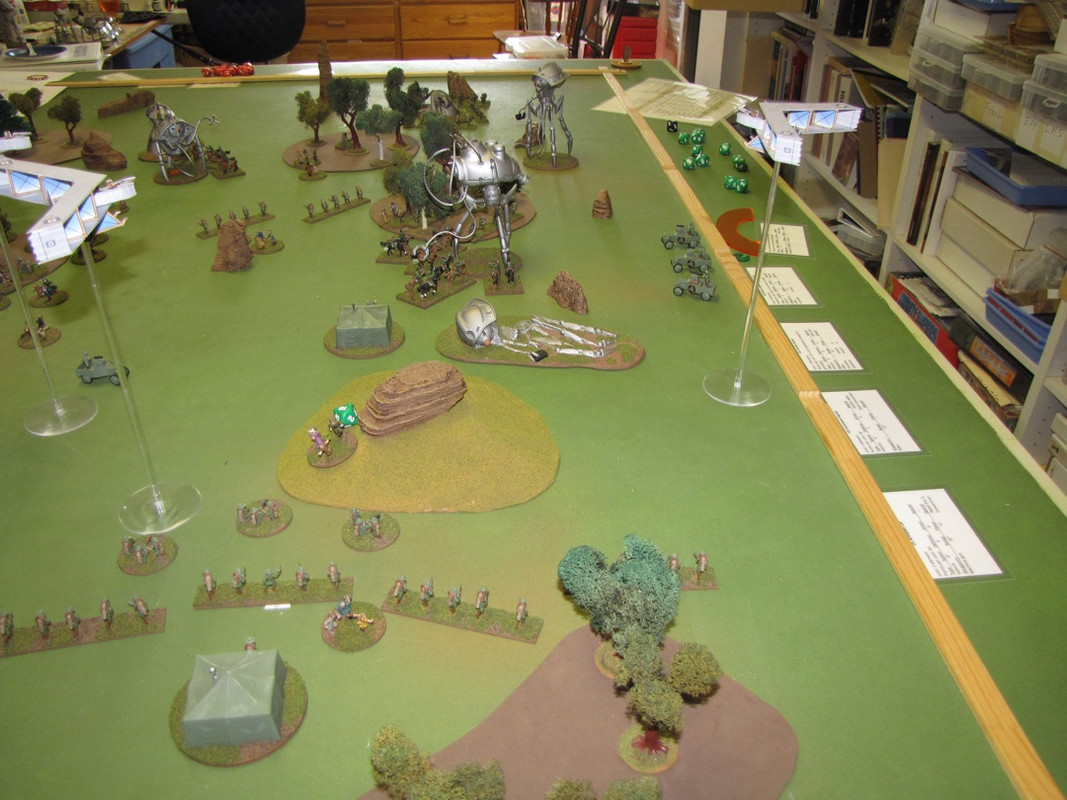 Three tripods are down. One more is needed to break the martian army. Martian turn Two more civilians are captured and a MG unit is destroyed. |
|
|
|
Post by terrance on Jul 21, 2018 19:19:46 GMT
Evacuation turn 2 Martian initiative Additional Martian forces enter from the table sides. 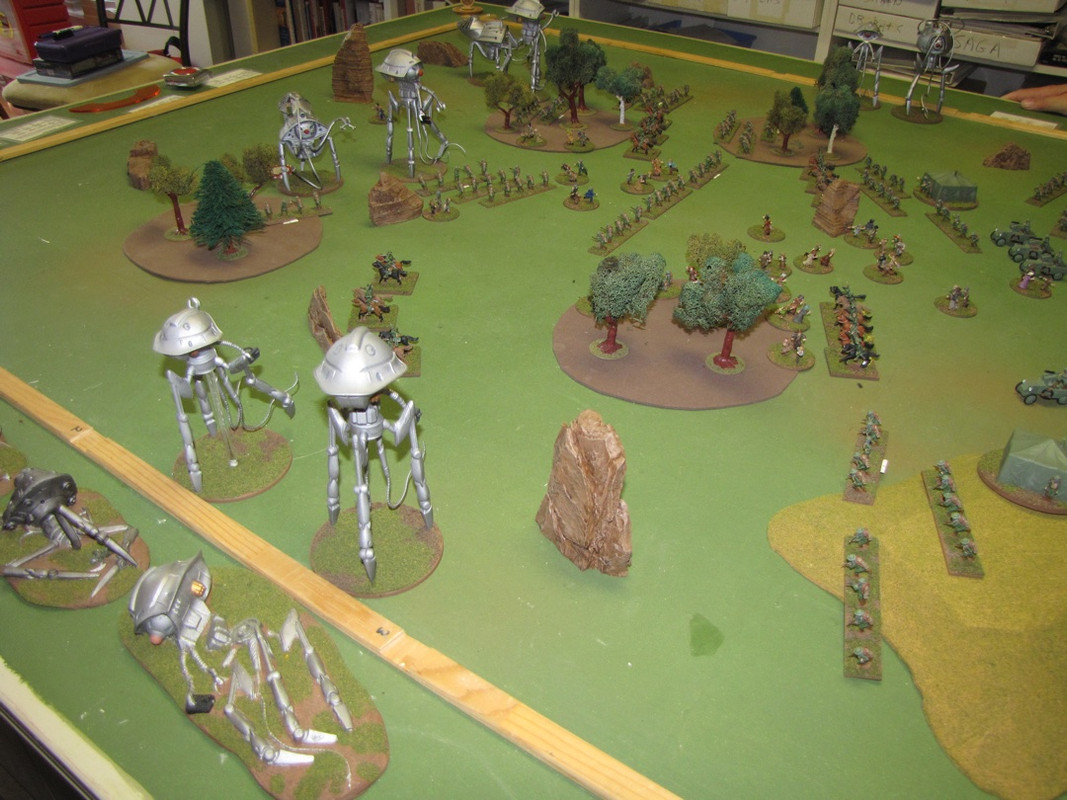 More infantry is captured and some cavalry is killed by heat rays. 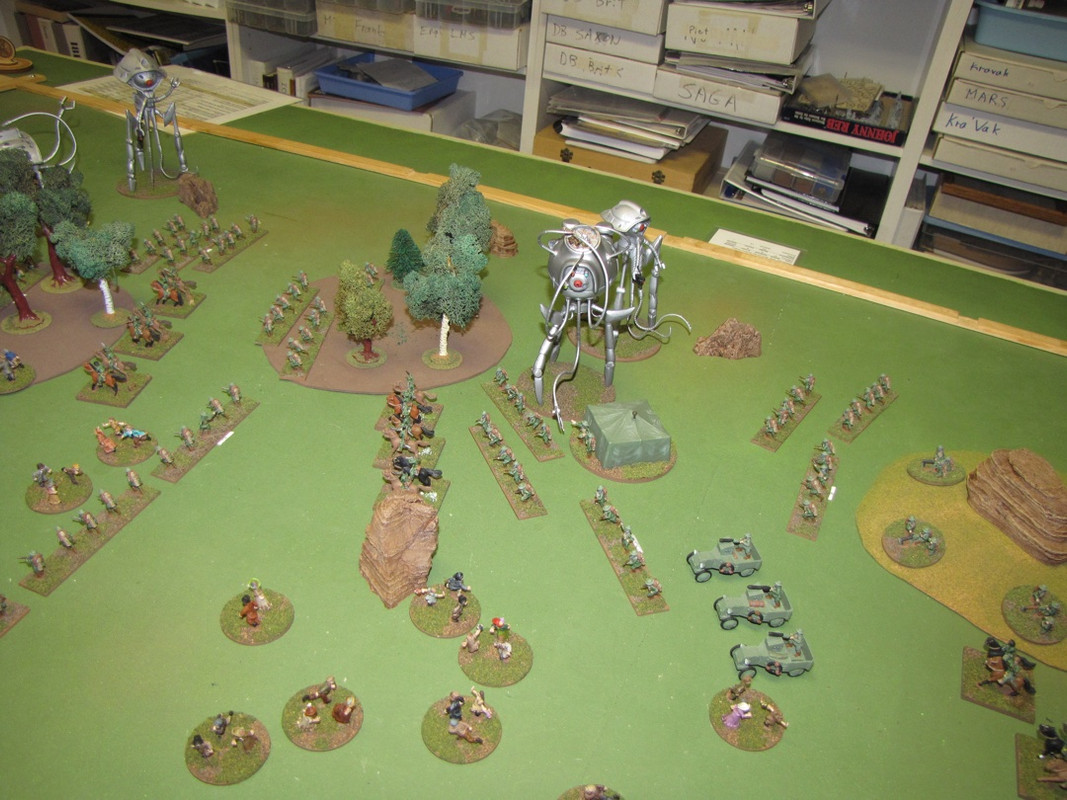 Human turn Humans launch assaults on the gatherers and the harvester. 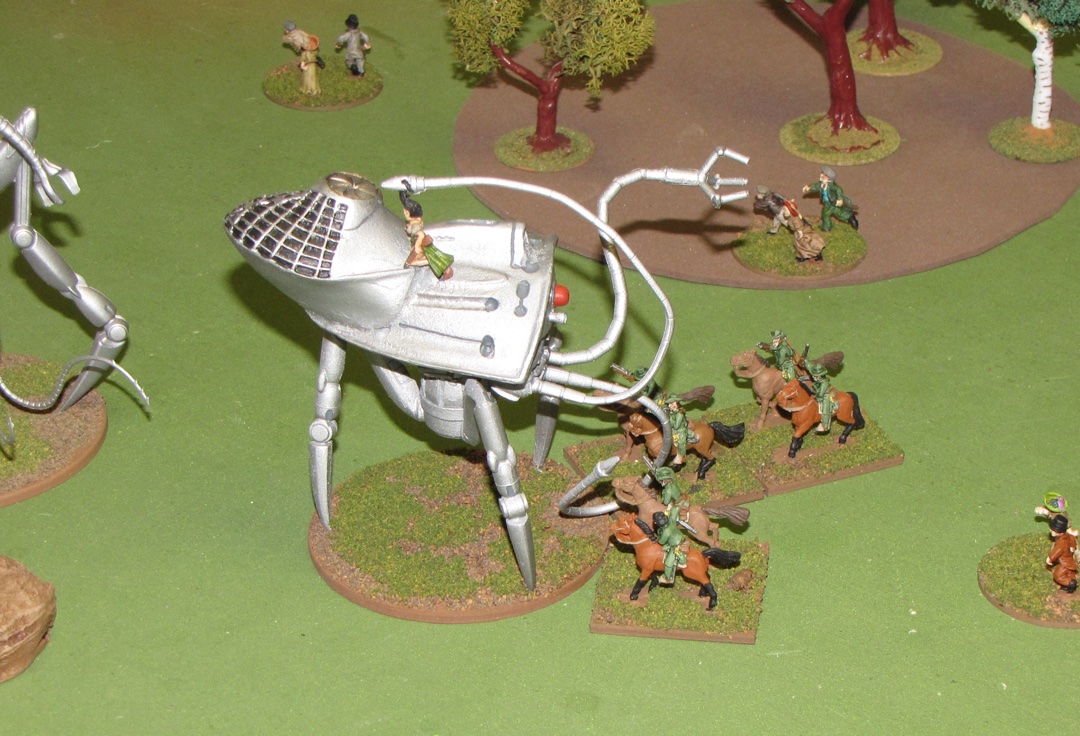 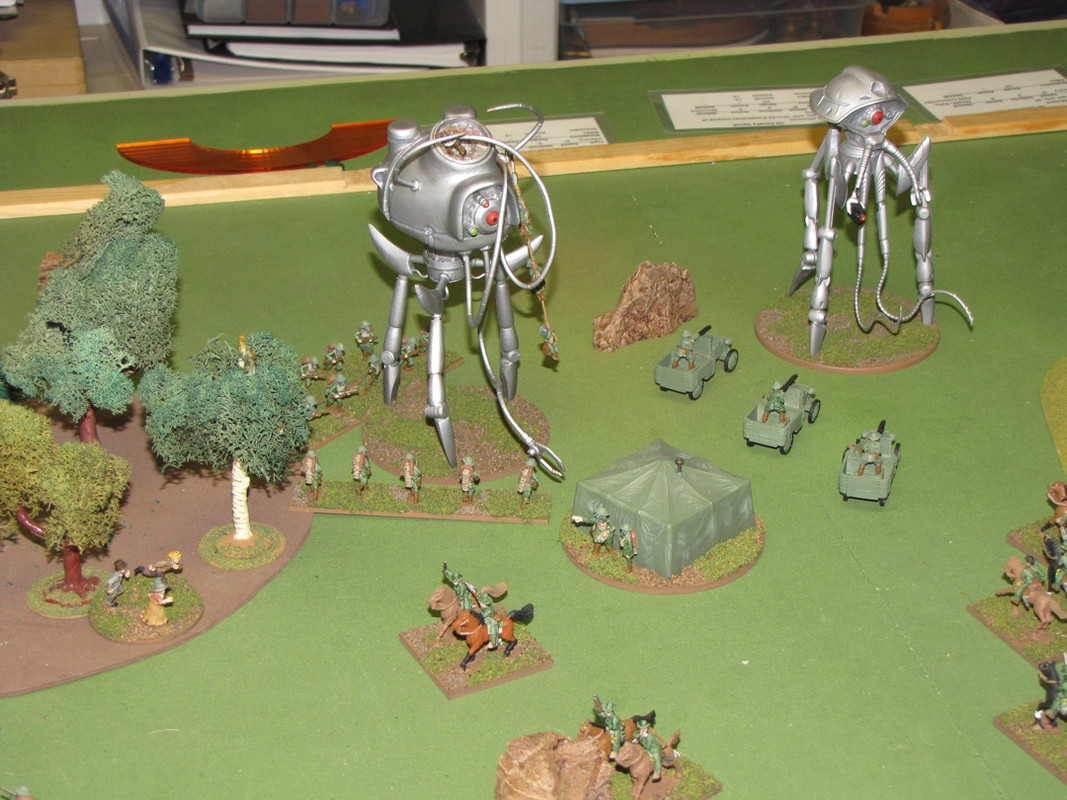 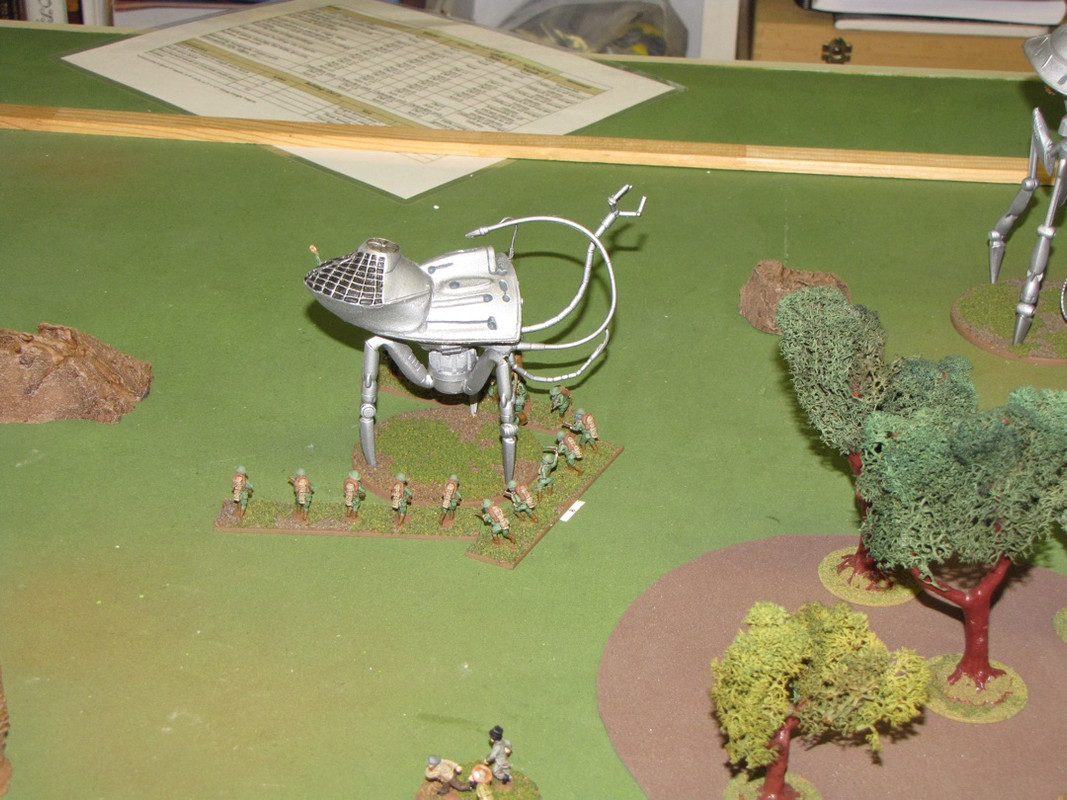 Aircraft enter and slightly damage a scout. 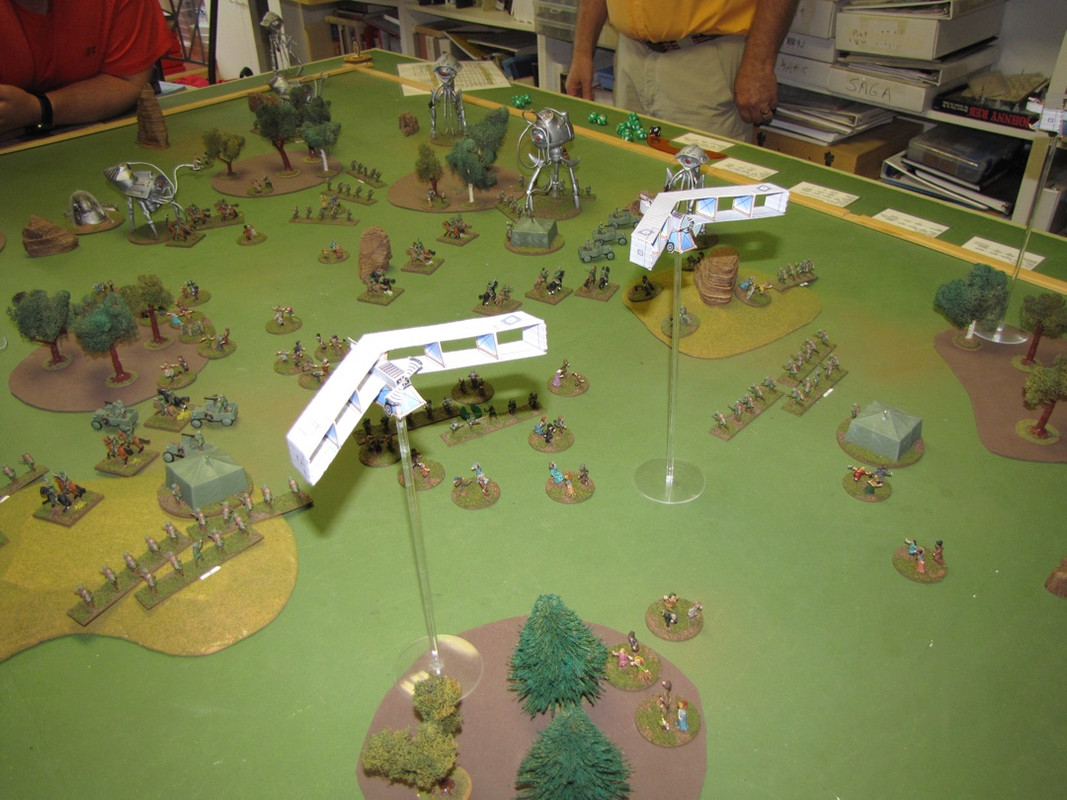 |
|
|
|
Post by terrance on Jul 21, 2018 19:13:54 GMT
Evacuation turn 1 Human initiative Civilians mingled including at least 1 suicidal group that moved towards the oncoming Martians. 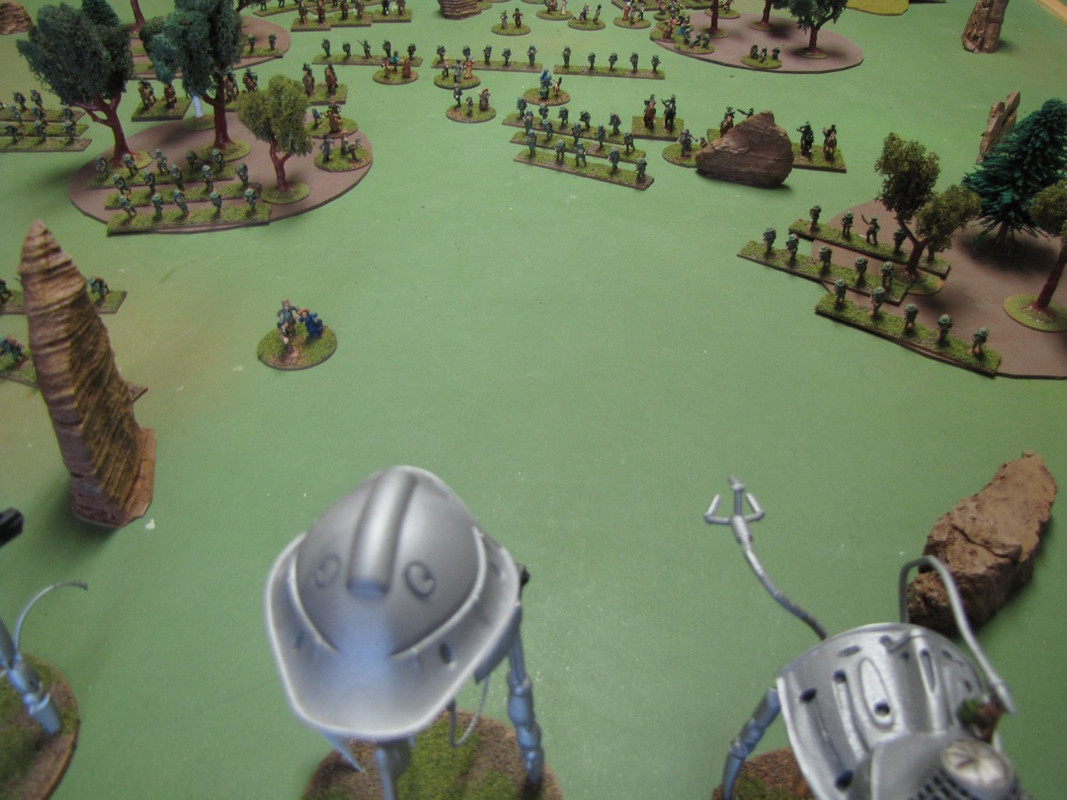 Otherwise the civilians mostly managed to get in the way of the army. 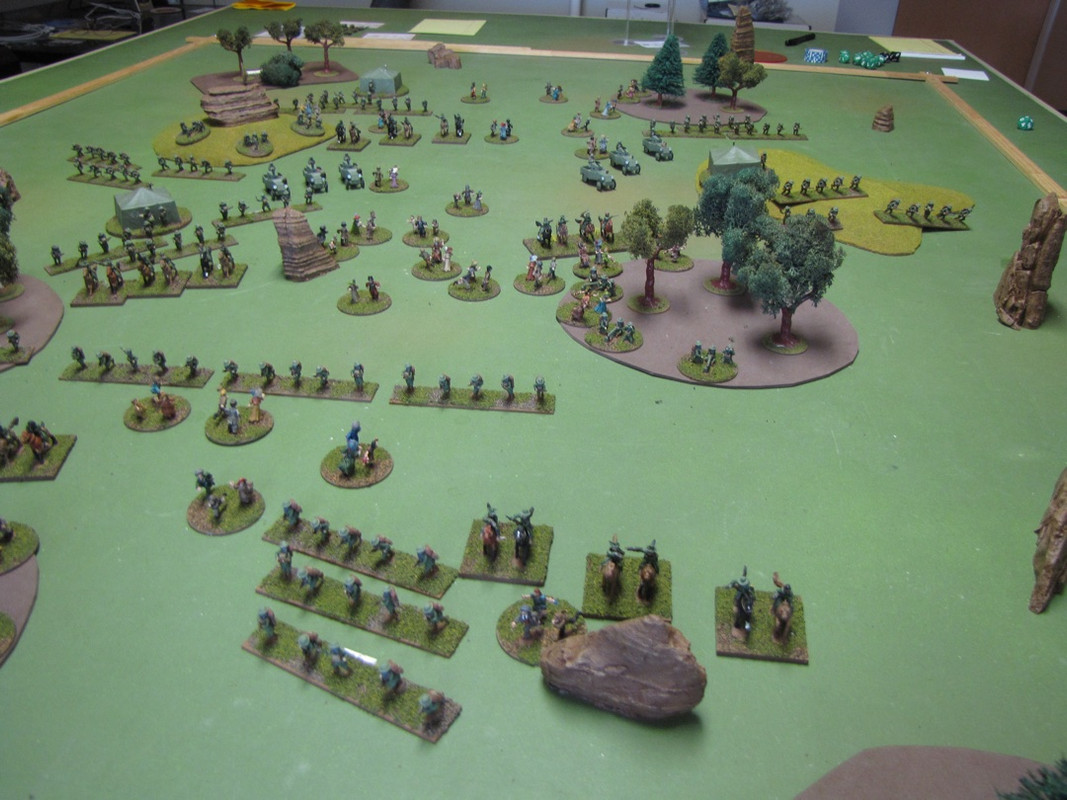 Martian turn The martian gatherers attacked the infantry and captured 3 stands. (Picture taken after the stands were removed.) 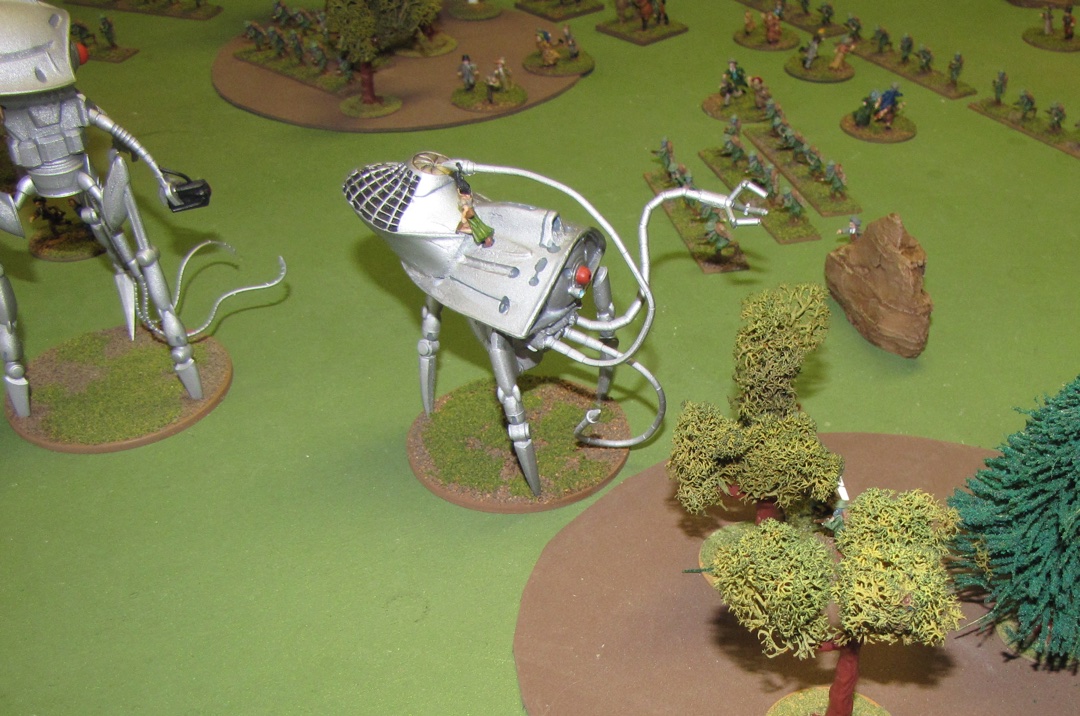 |
|
|
|
Post by terrance on Jul 21, 2018 19:09:06 GMT
Evacuation Set Up Looking towards the Martian side. 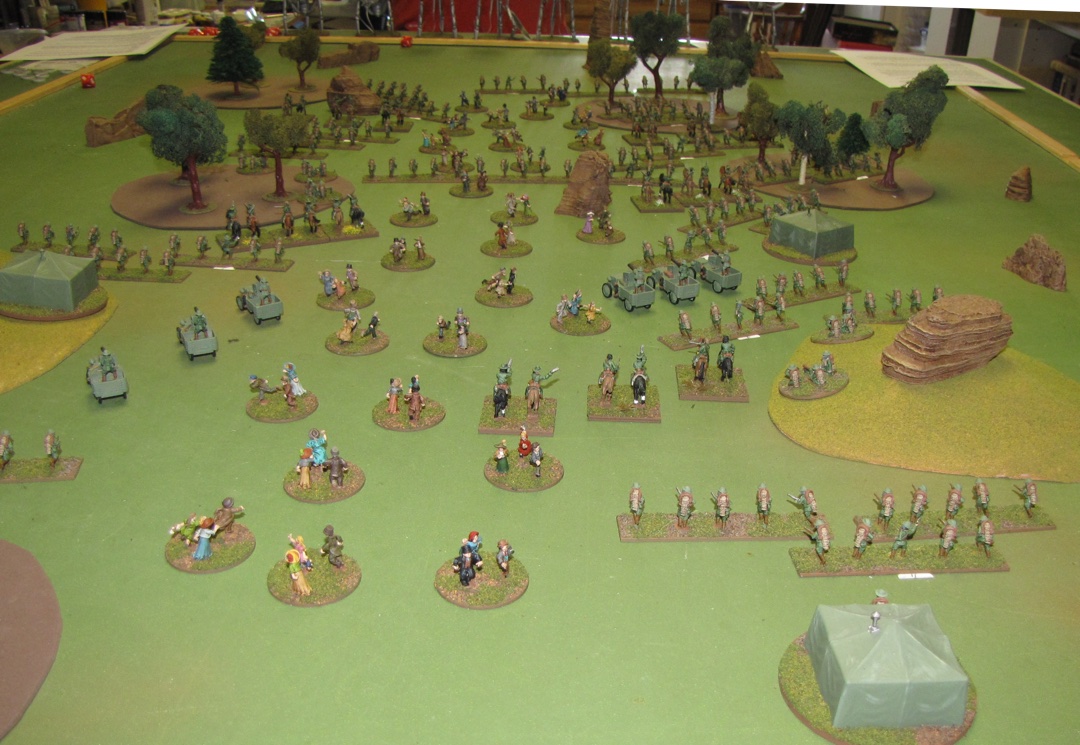 Looking towards the human side.  Table center.  |
|
|
|
Post by terrance on Jul 18, 2018 14:44:01 GMT
1909: Evacuation
Martian background: The prey that stings we have been fighting around the nearby habitation appear to be migrating. They are no longer hiding in fortifications, which will make them easier to attack. And it is also an opportunity to refill the larder.
Human background: High command has decided Belleville is too far forward of the main line of defense and must be abandoned. Our orders are to protect the civilians as they evacuate to the East.
Terrain: The game is played on the length of the table (short sides are the base lines). There are 8 terrain elements on the table chosen from:
Hills
Wooded hills
Woods
Each terrain element must be at least 4 inches from the table edge or other terrain elements.
Setup: Humans set up all forces except aircraft first. Thirty stands of civilians are set up in an area 8 inches wide and 4 feet long in the center of the table. This zone cannot be closer to 12 inches of either baseline. The human player then sets up his entire army within 6 inches of the civilians. Martians then place at least half of its army in contact with the Martian baseline. The remainder may enter the table on turn 2 on the Martian baseline or up to half way across the table on the sides.
Aircraft enter the human base edge on turn 2. Use the aircraft rules posted by Scott W.
Objective: The Martians need to capture as many civilian or infantry elements as possible. The humans need to protect the civilians and drive off the Martians.
Special rules-Civilians: During the first movement phase for the humans, roll a die for each stand of unescorted civilians on the table to determine their move.
D6 roll Civilian move
1 Move toward the Martian baseline
2 Move directly away from the closest visible Martian
3-5 Move toward the nearest cover or remain in cover
6 Move toward the human baseline
Special rules-Escorting civilians: An infantry unit may escort a stand of civilians. In this case the civilian stand is not rolled for movement, but moves with the infantry. They still only move in the human first movement phase. Each element in the infantry unit may escort one stand of civilians. To become an escort the infantry move into contact with the civilians and organize them during the combat phase. The civilians are then moved with the infantry the next turn. No civilians may be placed in escort at game setup.
Special rules-Collecting humans: Human infantry or civilian elements captured through assault within 6 inches of a gatherer or harvester tripod are are captured by that tripod. Keep track of the number of stands captured by the gatherer tripods. If the tripod is destroyed without exploding the captives escape. Place the stands in contact with the downed tripod. Humans collected by the harvester tripod are immediately considered dead. A gatherer tripod within 6 inches of the harvester tripod may transfer its captives to the harvester during the combat phase.
Duration: The game lasts 6 turns unless one army is broken. If the human or Martian army breaks, the turn is played to its end and then the final score is calculated.
Victory: Victory is based on the collection or protection of civilians. The Martian gets points for capturing civilians and infantry. If the Martians break but have the greater number of points it is considered a draw. If the humans break the victory is determined by the point value of captives.
Scoring Victory: At the end of the game score the collection of captives.
For each civilian or infantry element captured by a gatherer or harvester; 1 point for the Martian.
For each civilian element killed; 1 point for the Martian.
For each civilian element moved off the human baseline edge; 1 point for the human..
For every 2 civilian elements still on the table and at least 12 inches away from any Martian tripod; 1 point for the human.
Martian army
1 Harvester tripod: 150 points
2 Gatherer tripods: 100 points
3 Assault tripod: 600 points
2 Scout tripod: 300 points
Total 1150
Break 4; 5 command
Human army
12 Infantry: 360 points
8 Forlorn Hope: 120 points
3 Infantry command: 90 points
2 Machine gun: 90 points
5 Cavalry: 175 points
1 Flivver w MG: 25 points
6 Armored car: 270 points
Aeroplane: 60 points
Total 1190 points
Break 15; 5 command
|
|
|
|
Post by terrance on Jul 7, 2018 4:37:10 GMT
Congrats on your service - ditdahdah dit ditdahditdit ditdhaditdit dahditdit dahdahdah dahdit dit See my infantry weapons for my take on the bazooka. I relist it here. "Stovepipe" aka Bazooka @10pts Rng 10" +2Pow RF 1 Spec: 2 crew, if no loader RF drops to 1/2. Infantry weapons mimic the stats for the carrier - so the above carried by regular infantry would have a Spd 6" Def 5 Arm 4 Spec Stealth and have rifles and grenades as well. I also stated some 'sticky bombs' and lances among those and even did the recoiless rifle. How do you envision putting this on the table? Is it embedded in the squad like forlorn hope? Then how do you determine if the loader is lost? Or treat them like support weapons with their own stand(s) like machine guns? I’m wanting to get these in a game soon and am trying to work out the logistics. |
|