|
|
Post by scottwashburn on Jun 23, 2016 14:33:15 GMT
Another post from the old Forum
From the first moment I saw the All Quiet Tripods I thought they just cried out to have some lights in them. Well, I figured out a way to do it!

How? Well, first, let me tell you that I know as much about electricity as your average 4-year old, so my method had to be very simple! Step one was to find a self-contained power and light kit that would fit inside the head of a tripod. No way was I going to try and have a remote power supply or lights and then try to send wires or fiber optics through the narrow legs of a tripod! A very little searching on-line found exactly what I was looking for:
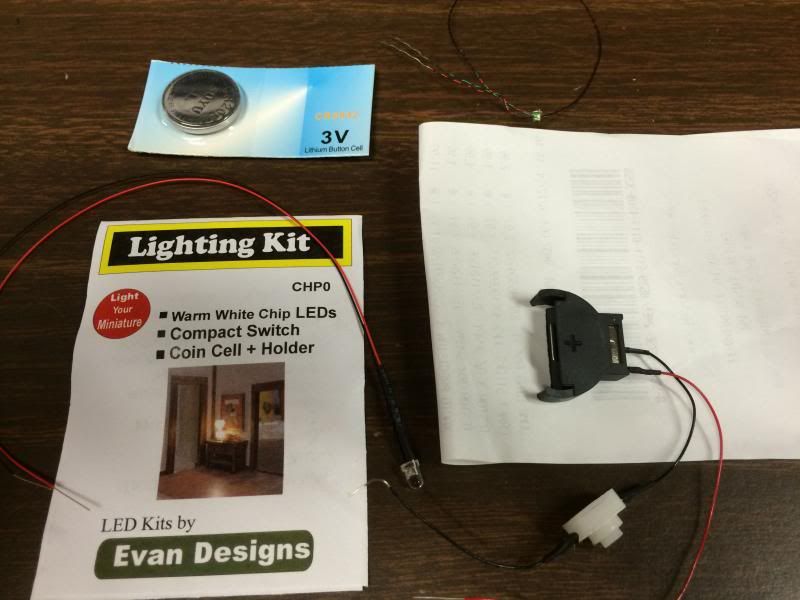
This beautiful little set includes a battery, battery-holder, switch and LED light for about 5 dollars. The provided light was a bit too small so I got a bigger one for another couple of bucks. It’s all available from here: www.modeltrainsoftware.com/single-light-kit.html
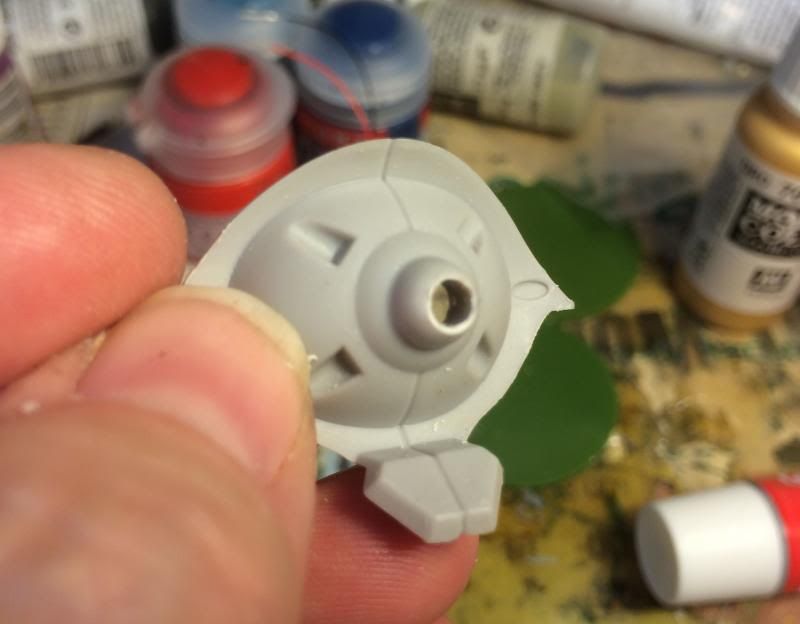
Now, how to mount it? Well, the light itself is simple. Just drill a hole of the proper size through the nose of the tripod.
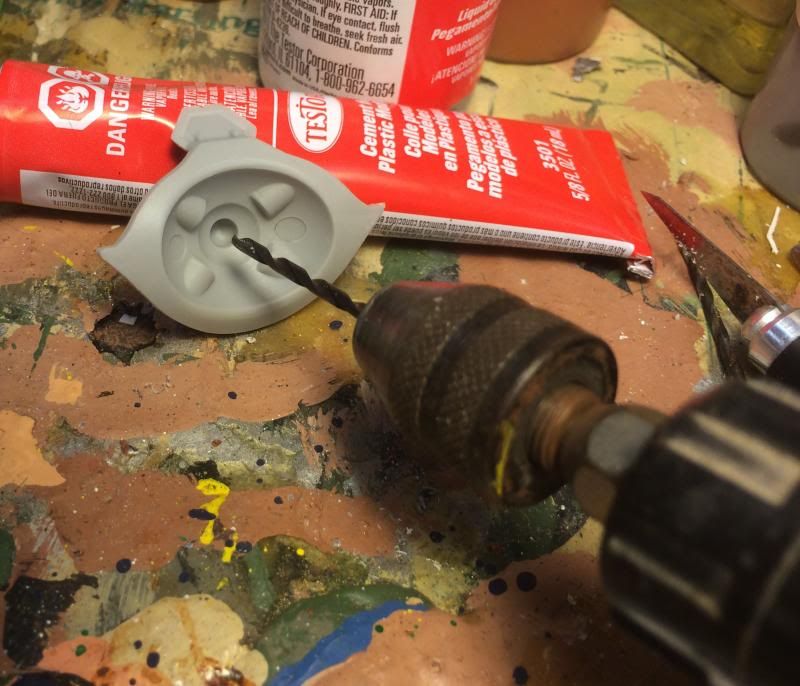
A little drilling, a little clean-up and it’s ready.
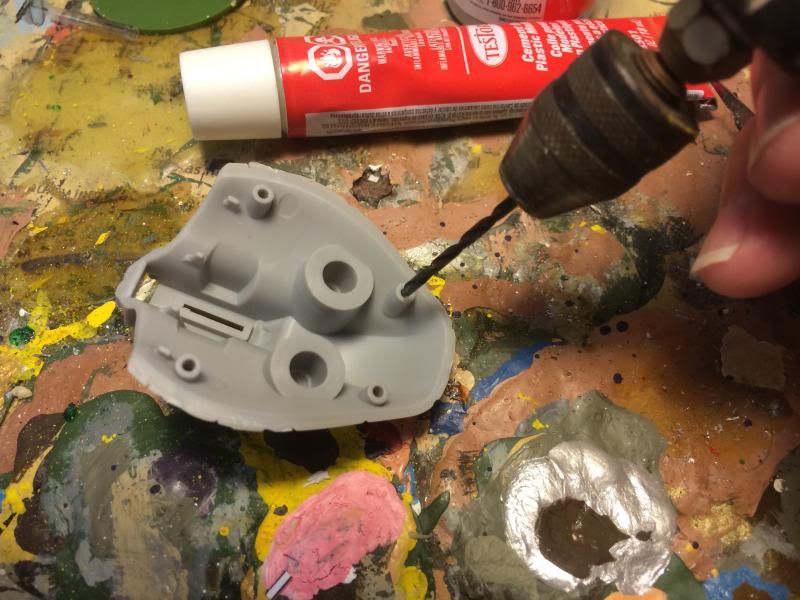
I toyed with the idea of making another hole and poking the button of the switch through the body of the tripod, but I decided I would just leave the top of the head loose and access the button and the battery that way. The pegs in the top of the head fit very tightly into the holes in the lower part of the head. I wanted to loosen that up, but not too much. A little careful drilling did the trick. {Later I replaced the pegs with magnets}
After that, it was just a matter of hooking the wires of the LED up to the wires of the switch/battery and stuffing the whole thing into the head of the tripod with the light poking through the hole. Oh, I strongly recommend finishing all your painting before mounting the light!

And voila!
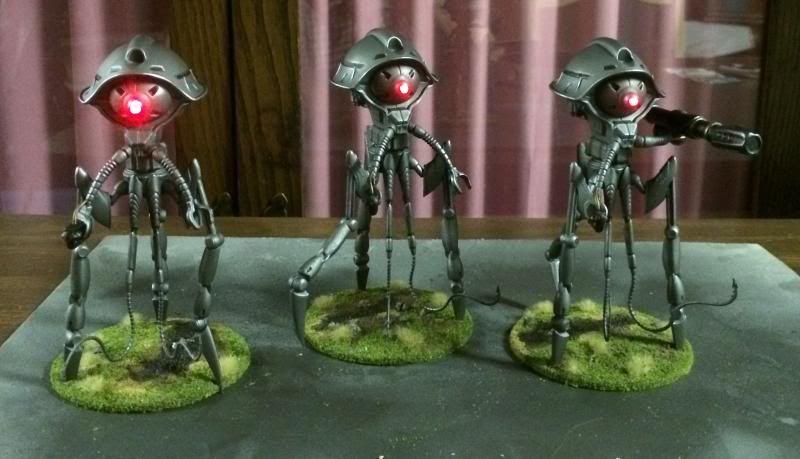
The batteries last quite while and the battery holder can be cut down to fit smaller batteries which will fit in the head of a scout tripod.
And no “Rudolph” jokes, please!
|
|
|
|
Post by charleybourne on Jun 23, 2016 15:04:28 GMT
Oooohhh, shiny! Very nice indeed.
|
|
|
|
Post by boxholder on Jun 23, 2016 16:53:43 GMT
Very nice job, scott! Makes an ominous looking tripod. Compact, clean installation. I wish I had seen this before I glued up my tripods.
I used large rhinestones to replace the "eyeball"so that they can catch room light. Gives the effect of internal light.
|
|
|
|
Post by charleybourne on Jun 23, 2016 17:26:20 GMT
Do you remember which size light you upgraded too? Xx
|
|
|
|
Post by scottwashburn on Jun 23, 2016 17:33:55 GMT
Do you remember which size light you upgraded too? Xx It was 3mm, I believe. |
|
|
|
Post by charleybourne on Jun 23, 2016 18:04:09 GMT
Thank you very much.
|
|
|
|
Post by talbot on Jun 23, 2016 20:38:39 GMT
I was on the fence about this, but you have swayed me. This will be my plan with at least the easier Martian Tripods.
|
|
|
|
Post by scottwashburn on Jun 23, 2016 21:23:07 GMT
The plastic ones are pretty easy. I managed to do my slavers and even grenadiers like this, but it was far more work hollowing out the resin heads!
|
|
|
|
Post by madmorgan on Jun 24, 2016 11:47:24 GMT
I've seen these in action at Scotts table of Paper Terrain product - as well as a really great battle (Get Nealy LIC in Canada) where All of the Tripods were lighted (no resin tripods in the scenario). It was awesome as some of the tripods also had yellow or green lights (which were cell commanders etc.). Really drew people to watch the game. I seem to recall the 'downed' tripod even had a weak light (or was it flickering not sure). Vivid memory of the the overall look; weak mind of what the details were. sigh.
|
|


